Wednesday, July 31, 2013
Vintage Feel Ripple Bonnet
Good morning!
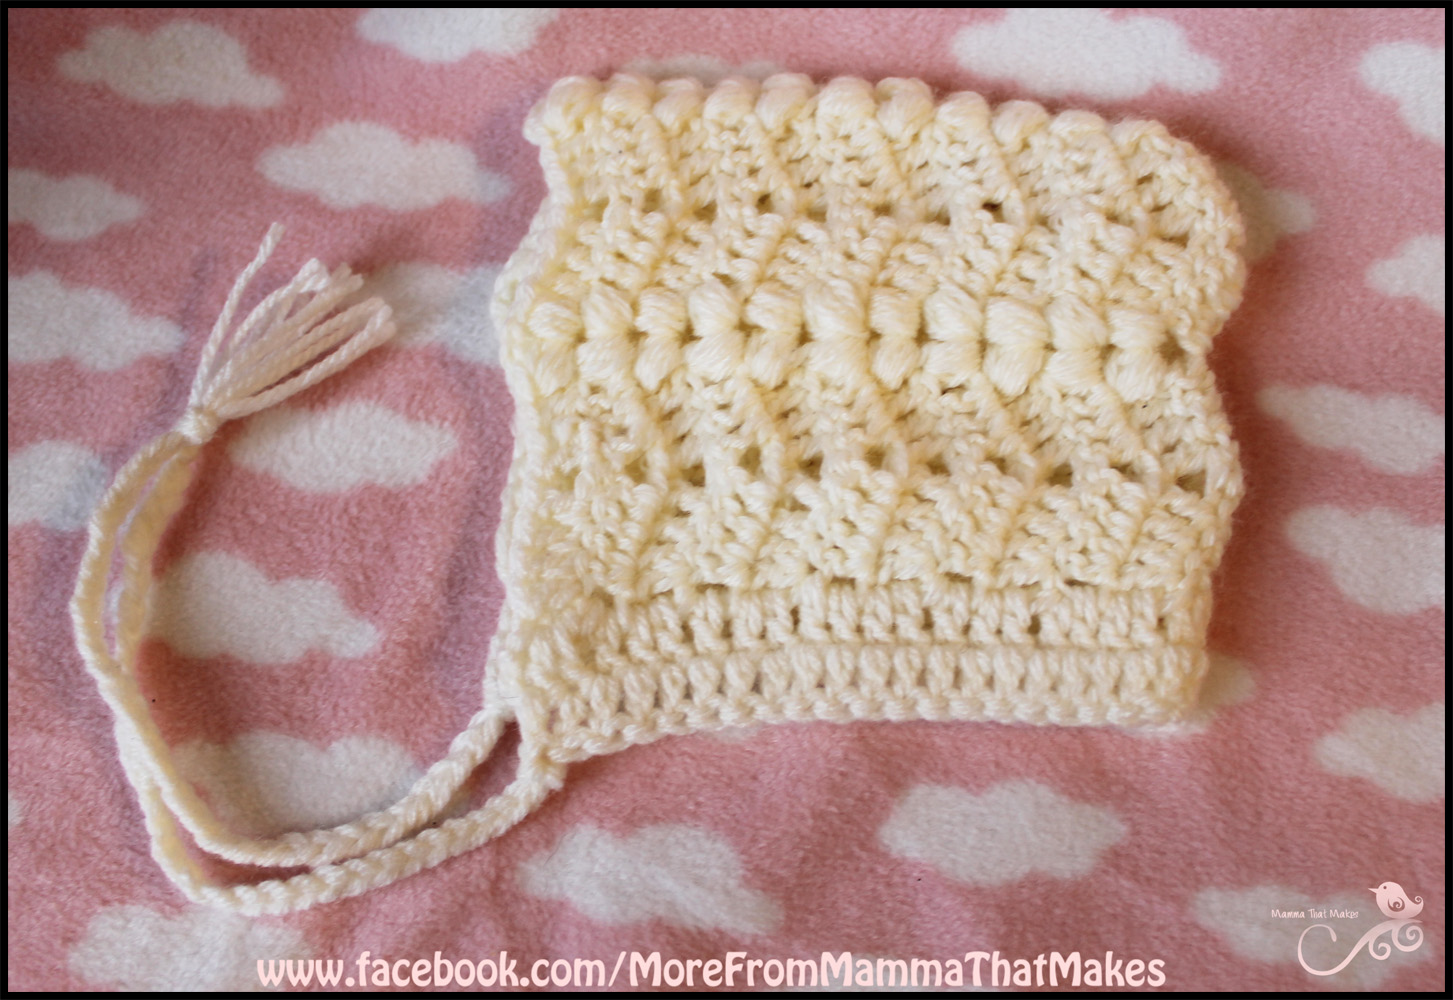
Today I have a super sweet pattern for you to try out. Its not quite as simple as some of my other patterns, but Im hoping it wont be all that hard either. It is a little bonnet that features a ripple and a bobble. It only has a few rows, so instruction wise its easy enough to read. If you use the same materials and rows as I have, it will fit a bub of 36 weeks gestation, but it is very easy to make it larger or smaller.
How to make a bobble stitch
3mm hook
DK (8ply) yarn
ch44
R1: dc in the 4th chain from hook, dc in the next 3 chains *skip 2 chains, dc in the next 4 chains, ch2, dc in the next 4 chains* repeat twice more, skip the next 2 chains, dc in the next 2 chains, 2dc in the next chain and dc in the last chain.
R2: ch3 (counts as a dc), skip 1, dc twice in the next stitch, dc in the next 2 stitches *skip 2 stitches, dc in the next 3 stitches, in the ch2 space (bobble, ch2, bobble), dc in the next 3 stitches* repeat twice more, skip 2 stitches, dc in the next 2 stitches, 2dc in the next stitch, dc in the top of the turning chain.
Repeat R2 10 more times.
Fold your piece in half and sew up the back seam. Turn right way in so seam is on the inside.
On one bottom corner join your yarn and ch2, dc evenly along the entire bottom edge of the bonnet until you reach the other corner.
ch2, turn, dc in each stitch across, back across the bottom edge. End off and weave in all ends.
Cut 3 60cm strands of yarn for each tie. Fold in half, attach to corners and plait to make a braid. You can find more information on doing that HERE
Monday, July 29, 2013
Rachels Rainbow - Crochet Chain Scarf
Good morning lovlies.
Today's pattern is a very special one, that was designed with one of my dear friends in mind. Everyone needs a bit of rainbow in their day, and being that here in Aus its wet, cold and all wintery, this is the perfect thing to not only give you some colour pop, but add a little neck warm.
Im sure it would look fabulous in other colours also, why not try it!
Chain pieces. All pieces are chained with 2 strands of DK weight yarn held together, and using a 6.5mm hook.
I chained each colour a slightly different length as I found all the same tended to bunch a lot, and when you have a larger chest, bunching = bad mkay!
Also note that I joined my strands after I was done, but you can also join them with a sl st before ending off if you like.
So basically;
Orange chain 100
Red chain 96
Yellow chain 105
Green chain 98
Purple chain 110
Blue chain 107
Set chains aside while we work on the cloud.
First we need a small wrap to keep all the strands together, so with 2 strands of white and a 5mm hook
chain 5
1. hdc into the second chain from hook, and the remaining 3 chains (4hdc)
2. ch1, turn, hdc across
repeat row 2 for 6 more rows. End off and leave a long tail for sewing wrap together.
Line all the joins in your chains up and use the white wrap piece to encase them. Sew the ends together to form a tube around the chains. If you want to, you can also sew a few times right through one side and out the other, catching the chains in the needle so they are less likely to move.
To make the cloud.
with 2 strands of white and a 5mm hook
ch6
1. hdc 3 times in the second chain from hook, sl st in the next chain, (hdc, dc, dc, hdc) in the next chain, sl st into the last chain, now working on the opposite side of the chains, sc in all 4 chains.
2. ch1 and turn, (dc, dc, hdc) in the second stitch, sl st, (hdc twice, sl st) in the last. End off leaving a tail to sew to wrap.
Subscribe to:
Posts (Atom)