Saturday, April 12, 2014

Ladybugs - A nail art tutorial


Good morning everyone!

Recently I discovered the wonderful fun of nail art! I've always loved painting my nails, but to date even tho my polish collection was impressive, the most outrageous thing Id ever done is paint them all differing colours.
One of my good friends posted me a box of bits to play with and I have to say, I am totally hooked. A lot of people on my facebook page have said they wish they knew how, have no idea how or cant do fun things because they are new to it all. Im here to say Nuh huh! Nail art for the most part, is EASY! It just requires a little practice. I had overwhelming requests for a tutorial on the ladybirds I had on last week, and so well, here it is.

The original image isnt the greatest, its the only one I took and by the time I decided to go ahead with the tutorial Id already worn them for a week and they were looking less then perfect. I really wanted to have this up earlier, but I've been out all week with a cold and haven't managed to blog a thing!

If this is something people would like to see regularly, please let me know. I'm more then happy to add up my designs when I do them. They won't be anything amazingly awesome, because hello, beginner here, but you know me, firm believer in sharing knowledge regardless of skill level. Everyone can learn from someone else!


So lets get started. These are the supplies I used. Polish remover, a base and top coat, black, white, red and green, a thin brush, a dotting tool and my handy dandy remover pen (best invention ever!!)


Start with a base coat. I used Ulta3 for this.


Do one coat of white, this will help your green pop if it isnt quite opaque enough. I used BYS white from the white/red duo, which I picked up in Kmart for 50 cents! Bargain!
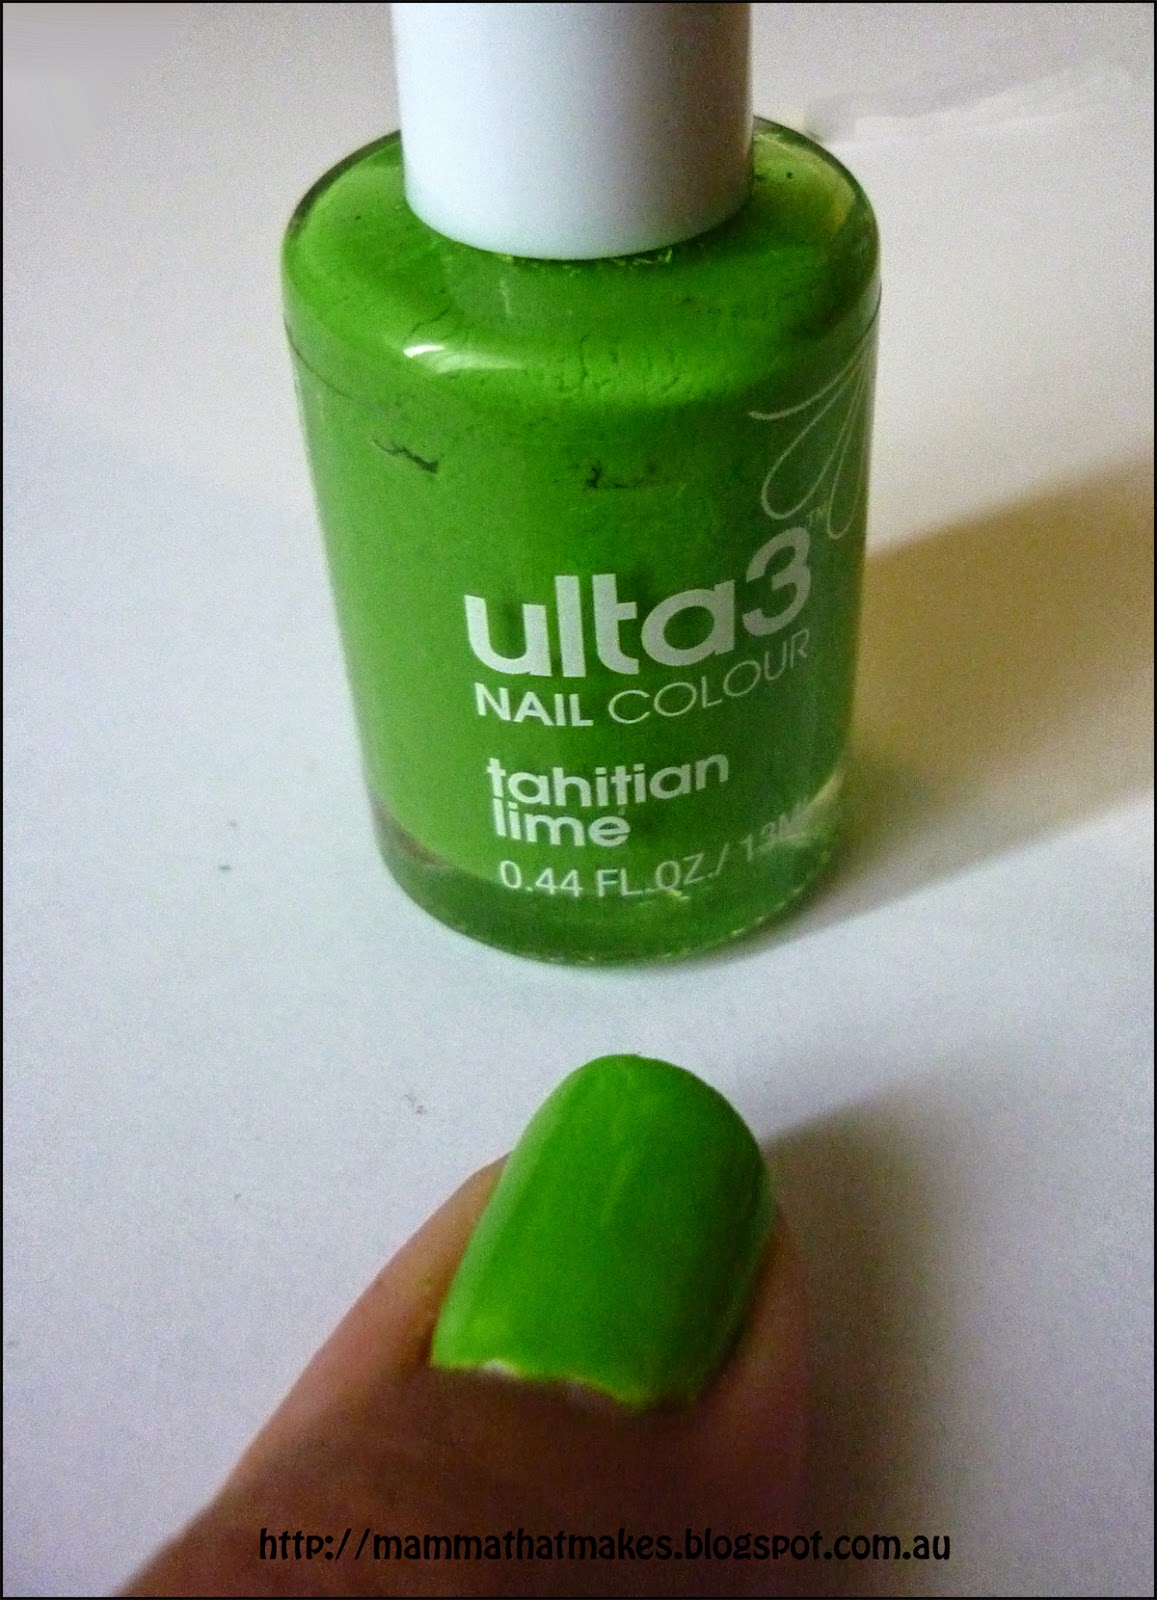

One coat of green. I used Ulta3's Tahitian lime.


I didn't have a pastel green colour, so I mixed some of the Tahitian lime with a little white to make one. We'll be using this for the leaf veins.


Using your brush and the green we just mixed paint on one stripe across your nail, for the leaves main vein. I used different directions on each nail.


Add the rest of the leaf veins using your brush, starting from the middle line and dragging the brush outwards.


Add a large red dot for the ladybugs body. I actually just dotted this on with the end of the brush. The red I used has a glittery look to it, and is a Revlon polish, but the bottle is so worn there are no other details. Its one Ive had since I was a teen.


Using the larger end of the dotting tool add the head with black. I did 2 dots super close to each other and used the end of the tool to join them.


Using the smaller end of the dotting tool put some little black spots on the ladybug. I did 4 on some, and 3 on others, depending on how big its body was.

Using white, dot on the eyes with the smaller end of the dotting tool. Now, rather then trying to re-dot again with an even smaller black, I found if I pushed the white dots on with a little force then when I lifted it up, the black from the layer below showed through in the very centre of the white dot. Of course you could also gently add black dots to the top if you have a small enough tool or toothpick.

Then just a top coat once its all dried. For that I used Seche Vite Fast dry top coat which I love! Then just give them a bit of a clean up with a cotton bud or remover pen, or even a brush in polish remover, whichever way you like to roll.

Thats it, repeat for the rest of your nails. Told you it was easy!

Sunday, April 6, 2014

Burial Gown Free Sewing Pattern for Preemies - Harper Gown


Good afternoon all.

Today I have something a little different for you all. Lately Ive been browsing burial gowns trying to find a pattern that was simple and easy and free. One that opened at the back, didn't involve an overlocker and didn't have these tiny little arm holes which I am sure would be a pain to actually use.

So, I sat down and drafted my own up.

Like Ive said in previous sewing tutorials, I am in no way, shape or form amazing at sewing. I am self taught and my method is to throw some stuff around and hope for the best.

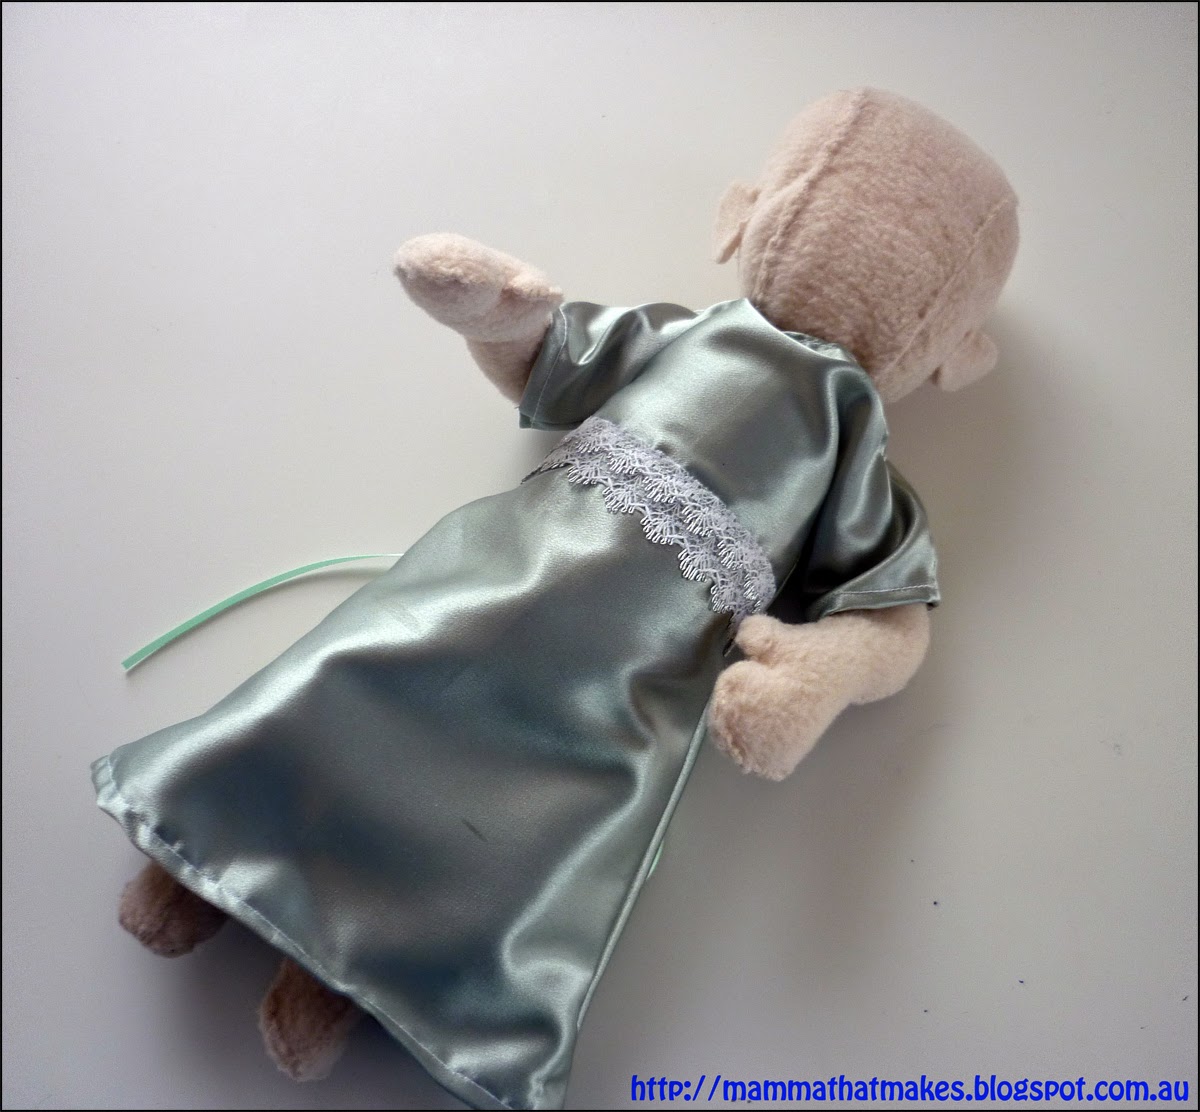
So, this pattern may not be outstanding, and it may not be as amazing as some I have seen recently, but it IS simple, easy, fast and lets face it, if I can put it together, anyone can! and most importantly its free! It is also very easy to customise. It features an open back, and has wide sleeves which will make putting on baby so much easier.
The doll I have it on is 24 weeks gestation, so Id say it will fit around 22-26 weeks give or take. Again, very simple to make it larger.

I also want to apologise in advance for the photos. Every time Ive had a spare minute to work on this has been either a rainy day or late at night. So excuse the cruddy images :)

You will need:
Some fabric. I have used cotttons, flannels and satins so far all with success.
Decorative ribbon/lace trim (about 15cm long)
Thin Satin Ribbon for back ties (15cm each)
Scissors, thread, pins and of course a sewing machine.

Grab the pattern here:


Cut out the 3 pieces of material you will need to make the gown, one on the fold for the front and 2 pieces (not on the fold) for the back, using the lines marked on the pattern. (back piece is slightly wider to allow for hems)


Pin the decorative ribbon or lace trim to the front of the gown and stitch it on. As you can see, I folded my piece in half first, as I thought it looked better then the single strand.


Next, with right sides facing, sew the back and front pieces together at the shoulder seams.


Hem the edge of the sleeves.


Hem the back opening.


And then do the neck opening


With the right sides together, pin the ribbon ties in place, with the majority of the ribbon facing inwards, then just sew up the sides of the gown.


The last step is to hem the bottom of the gown and that's it, your done! Told you it was simple.
I'll be adding photos of the ones I make on my FaceBook Page so if you want to see what materials/colours/trims ect I use by all means pop on over and have a look.

I hope this helps everyone that was looking for a free and easy sewing pattern. If you have any questions I'll try my best to answer them, but like I said before, Im not terribly great at sewing and if you have a better way of doing this by all means.

Also, if I had a pair of pinking shears Id have used them for all the edges to stop any fraying. Unfortunately I don't own a pair, nor do I have an overlocker (serger) but if you do, then I'd go with them to make the job a little neater and easier.