Good morning everyone!
Wow it has been super crazy around here this week! A lot of finishing and designing and organising and a wee bit of relaxing as well.
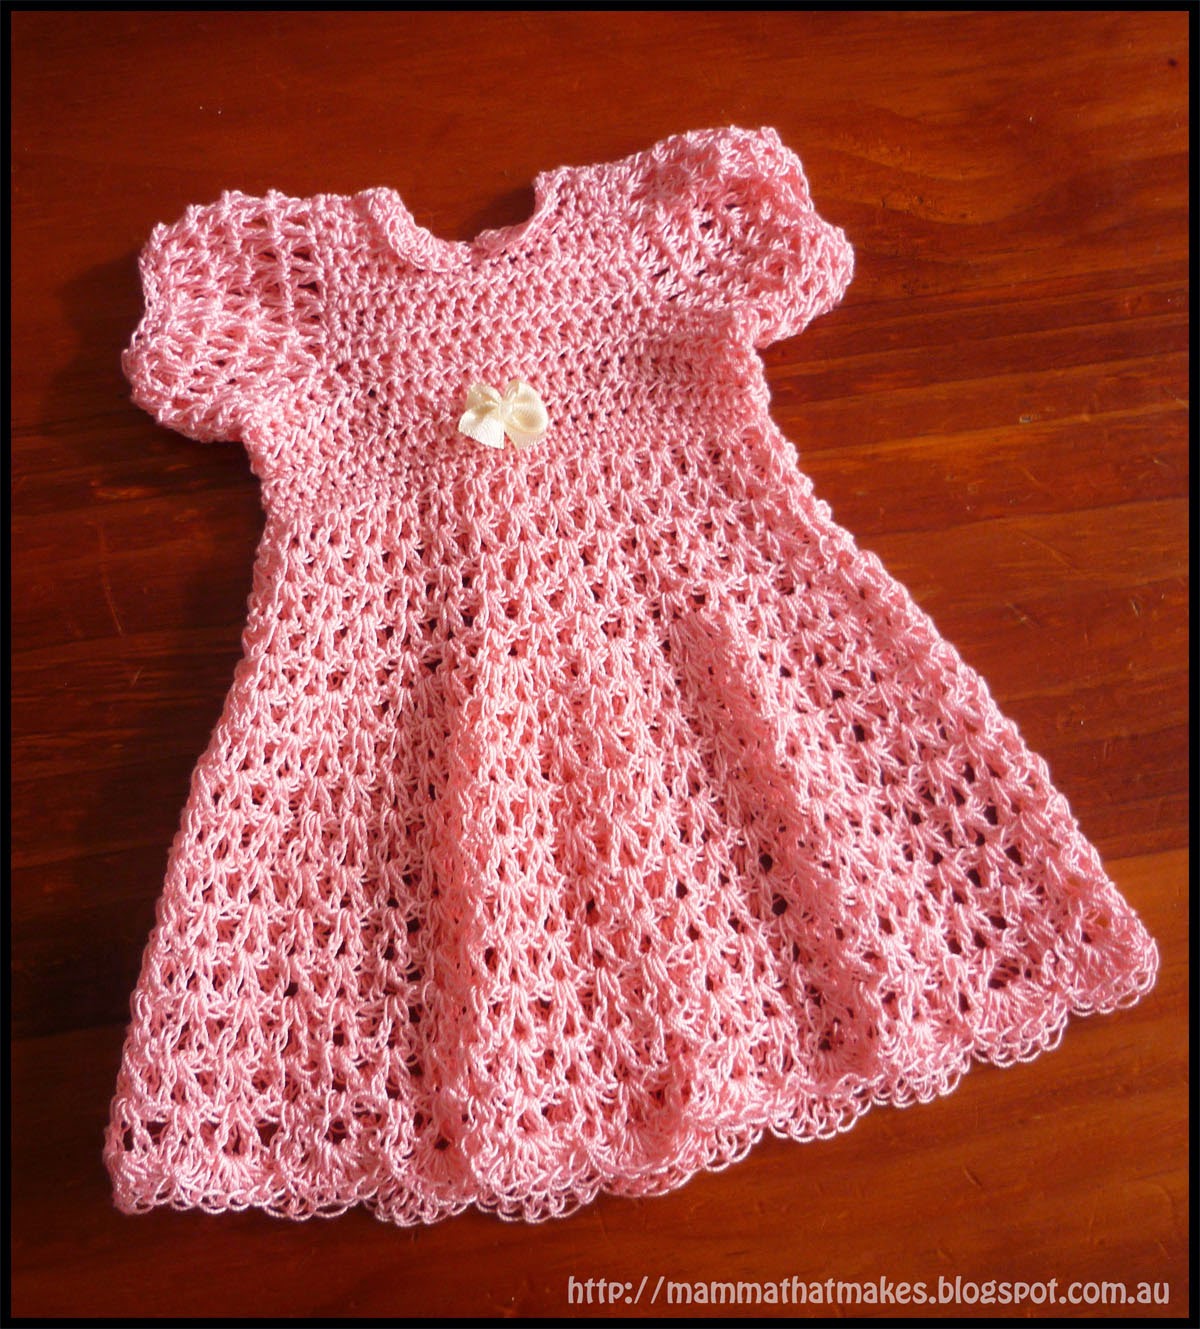
Today's pattern is a lovely little gown made from thread. A huge thankyou to Lisa from
Crochet Quackers who sent in the thread for me to play with.
The thread I am using today is DMC Babylo, which is a 3ply size 10 cotton thread. It is incredibly light. I used the best part of a 50g ball for the dress, and I am hoping I'll have enough left from the ball for a matching hat.
Working with thread can be a little challenging, and it does take a bit more time then a thicker yarn, but the results are so wonderful that it is definitely worth the effort.
This gown is designed to fit a bub of 26 weeks gestation, however you could upsize it using thicker yarn/larger hooks. I intend on testing it with some 5ply sports weight down the track, so I will let you know how that goes once I have done it.
Supplies:
3ply crochet thread (size10)
2mm hook
2.5mm hook
3mm hook
Small button
Small bow
With a 2mm hook and thread
1: ch65, hdc in the 2nd chain from hook and each across - (64)
2: ch2, turn, hdc in each stitch across - (64)\
3-5: Repeat row 2
6: ch2, turn, hdc 12
7-9: ch2, turn, hdc 12. End off.
Lay the piece with the 12hdc rows on the right,count off 10 stitches from row 5 and join yarn in the 11th.
10: ch2, hdc in the next 16 stitches - (16hdc)
10-13: ch2, turn, hdc in each stitch across - (16)
14: ch2, turn, hdc in the first 4 stitches - (4)
15-20: ch2, turn, hdc across - (4) End off leaving a long tail.
Rejoin the yarn on the 1st stitch of row 13
21: ch2, hdc in the first 4 stitches - (4)
22-27: ch2, turn, hdc across - (4) End off leaving a long tail.
Lay the piece with the hdc rows from 6-9 on the left. Join the yarn to the top of the first stitch from row 5 (furthest stitch on the right hand side)
28: ch2, hdc in the same stitch and in the next15 stitches - (16)
29-31: ch2, turn, hdc across - (16)
Sew the sleeve sections together as pictured below
Turn your piece upside down so you have the bottom of the bodice at the top and join your yarn to the corner (will be the same chains we started with)
32: ch2, hdc in each stitch across (64)
33: ch3, turn, *skip 1 stitch, (dc, ch1, dc) in the next stitch, repeat across, dc in the last stitch
34-37: ch3, turn, (dc, ch1, dc) in each ch1 space across, dc in the top of the ch3 at the end
38: ch3, turn, *(dc, ch1, dc) in the first 2 ch1 spaces, (dc, ch1, dc) in the space BETWEEN the ch1 just used and the next ch1 space* (this makes our increase), repeat across, dc in the top of the ch3 at the end.
39-40: ch3, turn, (dc, ch1, dc) in each ch1 space across, dc in the top of the ch3 at the end
Change to a 2.5mm hook
41-44: ch3, turn, (dc, ch1, dc) in each ch1 space across, dc in the top of the ch3 at the end
Change to a 3.00mm hook
45-47: ch3, turn, (dc, ch1, dc) in each ch1 space across, dc in the top of the ch3 at the end
48: ch3, turn, 2dc in the same stitch, *sl st into the next ch1 space, 5dc into the next ch1 space* repeat across, 3dc in the last ch1 space, dc in the top of the ch3.
End off and weave in ends.
Sleeves:
Join yarn to any stitch on the arm opening
1: ch1, sc evenly around the entire arm hole (36)
2: ch4, dc in the same stitch, *skip 1, (dc, ch1, dc) in the next stitch* repeat around, join to the 3rd chain from the starting chain.
3-6: sl st into the ch1 space, ch4, dc in the same space, (dc, ch1, dc) in each ch1 space around, join to the 3rd chain in the starting chain.
7: ch1, sc in each ch1 space around, join.
8: ch1, sc in each stitch around, join.
End off and weave in ends.
Repeat for second sleeve.
Collar:
1: Join yarn to any corner of the neck opening and sc evenly around the entire neckline (for me that was 52 stitches)
Mark off the front 11 stitches of the neck as shown below.
2: ch1, turn, sc until you get to the stitch before the first marker, skip 2 stitches, dc 10 times in the next stitch, using the front loop only, skip 2 stitches, sl st into the front loop of the next stitch, skip 2 stitches, dc 10 times into the front loop of the next stitch, skip 2 stitches, sc in all remaining stitches.
End off and weave in ends.
If your collar sits up a little you can iron it down, press it, or using the same yarn tack it into place.
Add a button to the back of the gown and the small bow to the front.
You may like to also run a ribbon around the bottom of the bodice if you prefer that to a bow.
Laid flat this gown measures approx. 22cm from the shoulder to the hem, and 12.5cm across the bottom of the bodice before the skirt section when laid flat.