Good afternoon all.
Today I have something a little different for you all. Lately Ive been browsing burial gowns trying to find a pattern that was simple and easy and free. One that opened at the back, didn't involve an overlocker and didn't have these tiny little arm holes which I am sure would be a pain to actually use.
So, I sat down and drafted my own up.
Like Ive said in previous sewing tutorials, I am in no way, shape or form amazing at sewing. I am self taught and my method is to throw some stuff around and hope for the best.
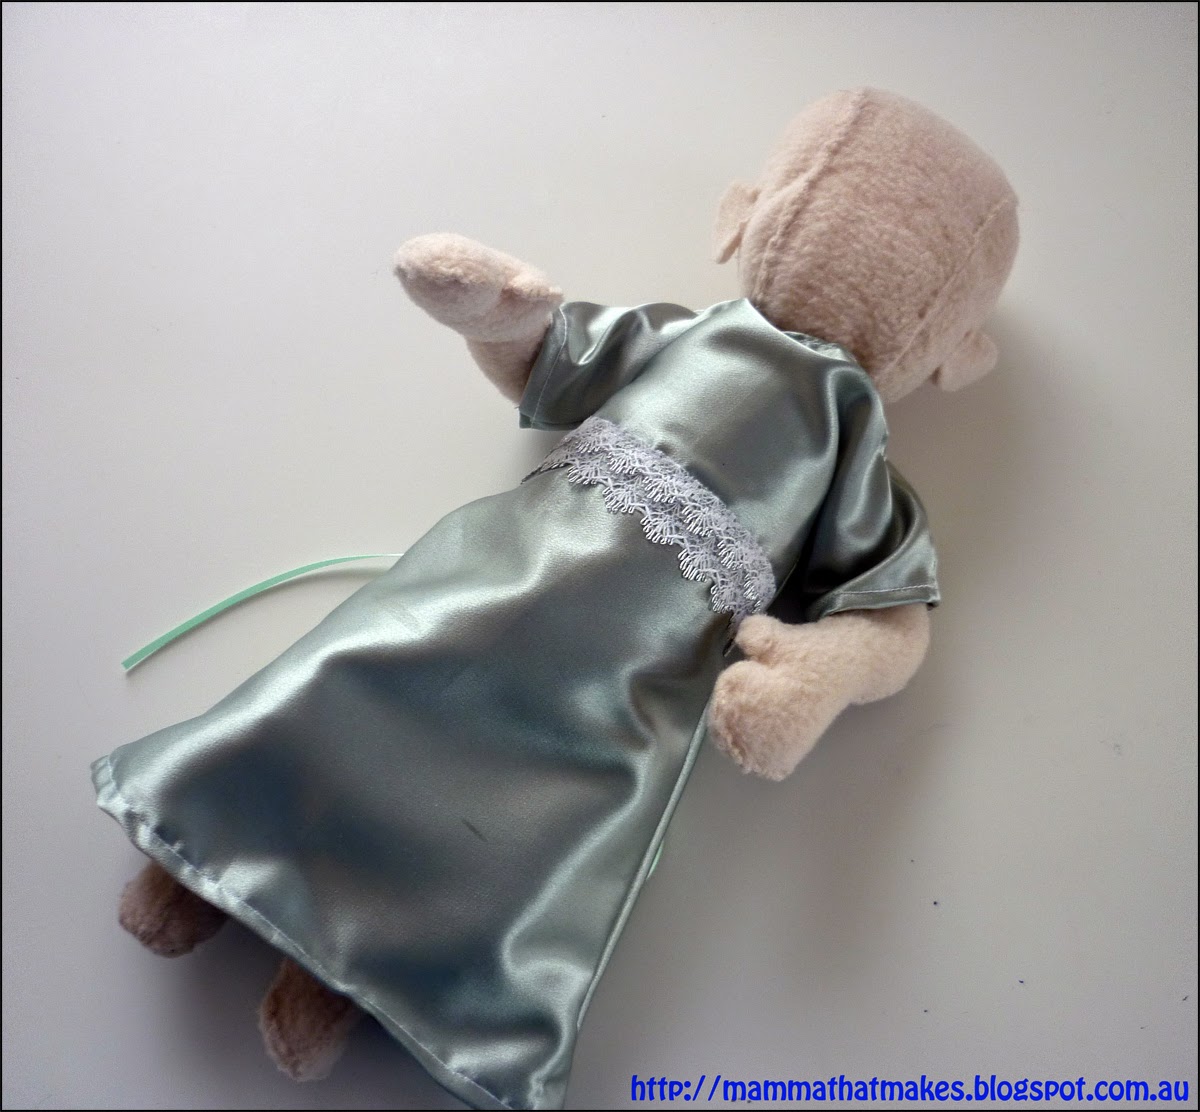
So, this pattern may not be outstanding, and it may not be as amazing as some I have seen recently, but it IS simple, easy, fast and lets face it, if I can put it together, anyone can! and most importantly its free! It is also very easy to customise. It features an open back, and has wide sleeves which will make putting on baby so much easier.
The doll I have it on is 24 weeks gestation, so Id say it will fit around 22-26 weeks give or take. Again, very simple to make it larger.
I also want to apologise in advance for the photos. Every time Ive had a spare minute to work on this has been either a rainy day or late at night. So excuse the cruddy images :)
You will need:
Some fabric. I have used cotttons, flannels and satins so far all with success.
Decorative ribbon/lace trim (about 15cm long)
Thin Satin Ribbon for back ties (15cm each)
Scissors, thread, pins and of course a sewing machine.
Grab the pattern here:
Cut out the 3 pieces of material you will need to make the gown, one on the fold for the front and 2 pieces (not on the fold) for the back, using the lines marked on the pattern. (back piece is slightly wider to allow for hems)
Pin the decorative ribbon or lace trim to the front of the gown and stitch it on. As you can see, I folded my piece in half first, as I thought it looked better then the single strand.
Hem the edge of the sleeves.
Hem the back opening.
And then do the neck opening
With the right sides together, pin the ribbon ties in place, with the majority of the ribbon facing inwards, then just sew up the sides of the gown.
The last step is to hem the bottom of the gown and that's it, your done! Told you it was simple.
I'll be adding photos of the ones I make on my FaceBook Page so if you want to see what materials/colours/trims ect I use by all means pop on over and have a look.
I hope this helps everyone that was looking for a free and easy sewing pattern. If you have any questions I'll try my best to answer them, but like I said before, Im not terribly great at sewing and if you have a better way of doing this by all means.
Also, if I had a pair of pinking shears Id have used them for all the edges to stop any fraying. Unfortunately I don't own a pair, nor do I have an overlocker (serger) but if you do, then I'd go with them to make the job a little neater and easier.


I downloaded the pattern, I don't know how big to make it, it seems really small.
ReplyDeleteIt is very small, its for a bub from 22-26 weeks gestation.
DeleteThis comment has been removed by the author.
ReplyDeleteHaving my first go at this!! Wish me luck!!!
ReplyDeleteDo you have a pattern for this in newborn.I make and donate items for a Charity and the hospitals love this for their newborns. Please let me know. I appreciate your kindness in sharing your pattern for us who want to help babies. Frances
ReplyDeleteThankyou for the pattern. From the printed pattern, can you please advise what is the seam allowance included (1/4"). Looking forward to hearing from you.
ReplyDeleteI am looking to make some bereavement dresses for donation to hospitals. I know some folks have been using old wedding dress material. Is there are way to send me the pattern?
ReplyDeleteamyb3517@gmail.com
thanks
I am working on making gowns out of my wedding dress could you send me the pattern? I tried to download and it wouldn’t allow me to download. Thank you. bethanywhittle@yahoo.com
ReplyDelete